
The temporally variable (transient) system boundary conditions for the system are defined using this menu item. Previously defined polygon courses may also be edited. Polygon course input is independent of location.
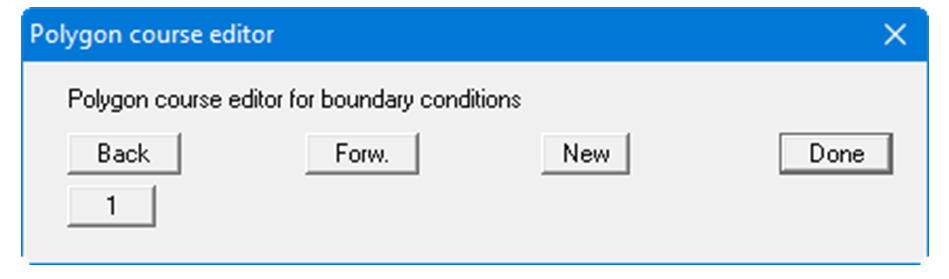
Existing polygon courses are opened in this menu item's dialog box by pressing the button with the corresponding polygon course number. The same dialog box opens as for the "New" button, providing the following options:
-
"Done"
Once all changes to the selected polygon course are complete, exit the dialog box using this button. By clicking the "New" button once again further polygon courses can be defined. -
"Edit polygon course"
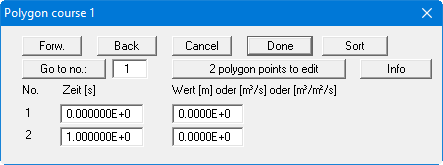
You define the number of polygon course modelling points via the "2 polygon points to edit" button. It is possible to define up to 100 polygon points. Once you have done this you can define the temporal course with your corresponding boundary condition value. Take care to note the units you are using. If you have entered the permeability in m/s, you must also enter the time values in seconds. Boundary conditions for sources must then be entered in m³/s and potentials in m. The example uses seconds. It has proven useful for evaluation purposes to use m/day for permeability as this provides much more manageable times. In principle, however, there are no restrictions imposed, as the program always functions true to your dimensions. If you would like to paste a polygon point, enter this as an additional value at the end of the table and then select the "Sort" button.
If you enter polygon values smaller than -1020, no potential boundary conditions will be applied for subsequent potential node allocations intended for transient modelling. You can thus suppress a potential boundary condition for given times.
When defining polygon courses, avoid sudden leaps which do not correspond to natural conditions. Otherwise a pressure shock may be the result, leading to the necessity for extremely small time increments to arrive at a solution.
After clicking on the "Done" button, you will return to the initial dialog box.v
-
"Display polygon course"
Using this button you have presented your polygon course in a diagram for viewing and checking. -
"Delete polygon course"
By clicking this button you can delete the current polygon course after a confirmation prompt. -
"Modify polygon course"
You can modify the polygon course values globally using addition, subtraction, multiplication and division. -
"Load polygon course"
The data from a previously saved file can be loaded (e.g. from a previous project or a different system). -
"Save polygon course"
The data entered can be saved to a file in order to have them available for different systems, for example. -
"Import ASCII data"
If you have polygon course data available as an ASCII file, they can be imported into the program. -
"Export ASCII data"
The current polygon course can be exported to an ASCII file. -
"Duplicate polygon course"
The data for the current polygon course are duplicated and allocated to a new polygon course. You are then moved directly to the dialog box for the new polygon course and are able to view, edit or delete the data by means of the corresponding buttons there (e.g. "x polygon points to edit", see above). -
"Polyg. course via sinus funct."
This allows you to generate a polygon course via a sine function. This can be useful for areas under tidal influence for example. -
"Copy polygon course to rear"
Existing polygon course points can be copied and appended to the end. This shortens input, for example if two waves follow each other.