
A dialog box opens when the "Copy/print area" icon ![]()
In the dialog box, first select where the copied area should be transferred to: "Clipboard",
"File" or "Printer". The cursor is displayed as a cross after leaving the dialog box and, keeping the left mouse button pressed, the required area may be enclosed. If the marked area does not suit your requirements, abort the subsequent boxes and restart the function by clicking the icon again.
If "Clipboard" was selected, move to the MS Word document (for example) after marking the area and paste the copied graphics using "Edit/Paste".
If "File" was selected, , the following dialog box appears after defining the area, shown here as an example for the GGU-FOOTING program:
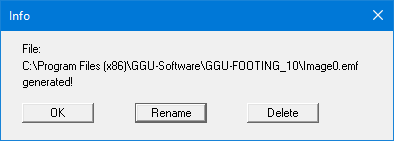
The default location of the file is the folder from which the program is started (here: GGU-FOOTING_10) and, if several files are created, the file is given the file name "Image0.emf" with sequential numbering. If the
"Rename" button in the dialog box is clicked, a file selector box opens, and the copied area can be saved under a different name in a user-defined folder. Saving can be aborted by pressing the "Delete" button.
If the "Printer" button was pressed in the first dialog box, a dialog box for defining the printer settings opens after marking the area. Following this, a dialog box for defining the image output settings opens. After confirming the settings, the defined area is output to the selected printer.