
After starting the program, you will see the GGU-GABION start-up screen. Select the "File/New" menu item and accept all presettings. If you prefer, you can enter a project identification, e.g. "Example 2".
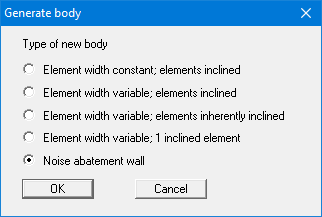
After leaving the dialog box, you will again be queried on "Common systems". For this example, click the "Yes" button. Alternatively, you can go to the "Editor 1/Body (geometry)" menu item and click on the "Generate" button there. In both cases the following dialog box opens, in which you select "Noise abatement wall" as the type of new body.
After confirming by pressing "OK" you will see another dialog box, in which you use the following settings to automatically generate the noise abatement wall.
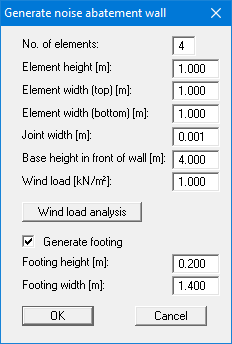
The "Base height in front of wall" is calculated from the top of the wall (= 0.0 m) and is positive downwards. An active berm of 4.0 m is generated in the noise abatement wall's active earth pressure zone in order to simulate the free-standing wall.
The wind load entered in the dialog box is taken into consideration by the system as a surcharge load. (see "Editor 2 / Lateral pressures" menu item) To prevent a favourably acting active earth pressure being generated at the rear face of the wall, the program automatically sets the active wall friction angle to zero.
After confirming your input by pressing "OK" you then move to the body geometry editor box and exit this box by pressing "Done". The entered system is now displayed on your screen. System visualisation can be optimised by pressing the [F9] function key.