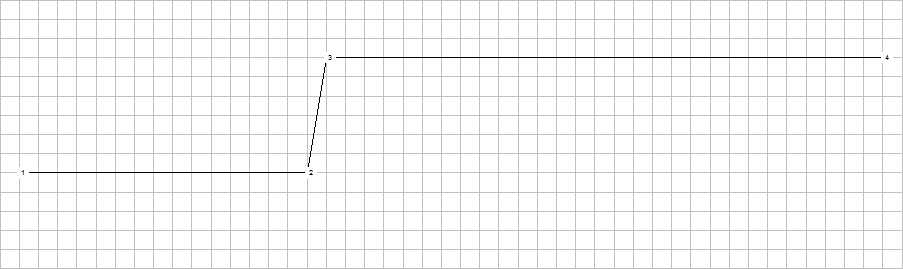
Select the "Surface" menu item from the "Editor 2" menu. You will first see an info box with possible ways of entering surface geometry. Then click on the surface line coordinates with the left mouse button. They will be continuously numbered from left to right. Erroneous input can be corrected by clicking with the right mouse button or be undone by using the [Backspace]-key.
For this example, click on the following four coordinate pairs:
|
x [m] |
y [m] |
|
-15.0 |
0.0 |
|
0.0 |
0.0 |
|
1.0 |
6.0 |
|
30.0 |
6.0 |
Table 1 Surface points of worked example 1
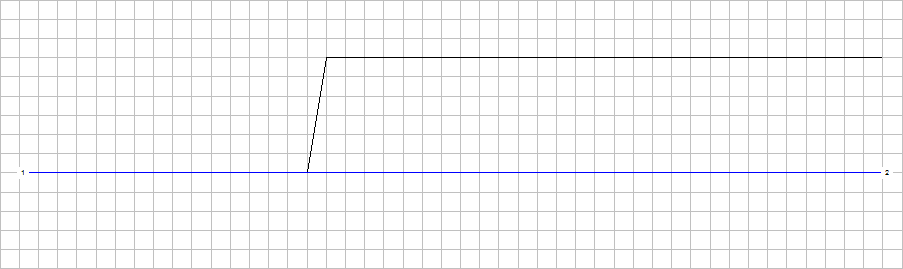
Select the "Pore water pressure" menu item from the "Editor 2" menu. Enter the pore water pressure line in analogy to the surface line. From the difference between a slice toe and the height position above this toe point of the pore water pressure line, the program later calculates the pore water pressure on the slice.
For this example, select a horizontal pore water pressure line at 0.0 m, which begins at x = -15 m and ends at x = +30 m and thus consists of two points only.